Roach Vacuuming Tips Every Homeowner Needs to Finally Eliminate Roaches
If you fight cockroaches, roach vacuuming is a fast way to reduce their numbers. It is more than a tool that pulls up bugs. It works to help you take back your home.
Below you will find clear, step-by-step advice on how to vacuum roaches with care and skill. This guide shows you how to work with other methods and avoid mistakes that may add to the problem.
Why Roach Vacuuming Works (and Its Limits)
Vacuuming roaches works well for three reasons:
-
It cuts the roach count right away
Every roach, egg case, and nymph you vacuum means fewer bugs in your home. When numbers are high, this fast step is key. -
It lifts allergens and dirt
Droppings, shed skins, and broken body bits can trigger asthma or allergies. Using a vacuum helps pull these out. -
It helps you see where roaches hide
The spots where you find many roaches show you where they live. This insight helps you set baits and traps in the best places.
Still, roach vacuuming by itself:
- Does not remove a full infestation. Hidden nests or hard-to-reach places will stay.
- Does not stop new roaches from coming or breeding.
- Must join with cleaning, blocking entry, baits, and sometimes sprays for lasting control.
Think of roach vacuuming as the fast cleanup and note-taking step in your roach fight, not the only fix.
The Best Vacuum Types for Roach Control
You do not need a special machine. Some vacuums work better for roach cleaning:
1. Shop Vac or Canister Vacuum
A shop vac, canister, or upright with strong suction and a hose is best. Look for:
- Strong suction to pull up adults, young ones, and eggs.
- A hose with a tool for corners and tight gaps.
- A bag or bin that you can seal to throw away roaches fast.
2. Vacuums with HEPA Filters
If someone in your home has allergies or breathing problems, choose a vacuum with a HEPA filter. This filter traps fine allergen bits instead of sending them back into the air.
3. Handheld Vacuums for Spot Cleaning
A small vacuum with a narrow nozzle helps in:
- Under appliances
- Inside cabinets
- Along baseboards
For a large roach problem, use the handheld as a side tool along with a full-size vacuum.
Safety First: Getting Ready to Vacuum Roaches
Before you start, take care with these steps:
- Wear gloves that you can throw away. Use a mask if dust or allergens bother you.
- Empty the vacuum bag or bin first. This helps you see your work and stops overload.
- Have your trash bag and tape or bands ready.
- Keep children and pets out of the work area.
If many roaches are seen during the day or in several rooms, think about getting help from a pest expert while you work on these steps.
Where to Focus Your Roach Vacuuming
Roaches like spots that are warm, dark, wet, and near food. Work first in these places:
Kitchen Spots
- Behind and under the fridge and stove
- Around and under the dishwasher
- Inside low cabinets and under the sink
- Behind small kitchen machines like the microwave, coffee maker, or toaster
- Along baseboards and under the panels of cabinets
Bathroom and Laundry Areas
- Behind and under sinks
- Near pipes and walls where pipes go through
- Behind the toilet, washer, and dryer
Other Areas
- Utility rooms and basements
- Closets near the kitchen or bath
- Cracks where cabinets and walls meet the floor
- Near trash cans and pet feeding spots
Move with care. Roaches move fast. A slow search helps you pull them up before they hide.
How to Vacuum Roaches Step by Step
Follow these simple steps for good results:
-
Start in the Darkest Spots
Clean behind and under appliances, cabinets, and fixtures. Use a flashlight if you need help. -
Use the Crevice Tool
Attach the narrow nozzle. Run it along:- Cracks where walls and floors meet
- Seams of cabinets and drawers
- Gaps around pipes
-
Target Busy Paths
Look for signs:- Small dark spots from droppings
- Shed skins
- Smudge marks
These show busy roach paths. Vacuum these spots well.
-
Clean Egg Cases
Look for egg cases on surfaces or in cracks. Vacuum them. One egg case can hold many future roaches. -
Use a Brush Tool for Tough Spots
If roaches or egg cases stick on a surface, use the brush tool on the vacuum to free them. -
Make More Than One Pass
Go over the same spot a few times. Roaches may hide in deep cracks. More passes catch more bugs. -
End with a General Floor Vacuum
After clean spots, vacuum floors including:- Under furniture
- Along walls and baseboards
- Under rugs and mats
After Vacuuming Roaches
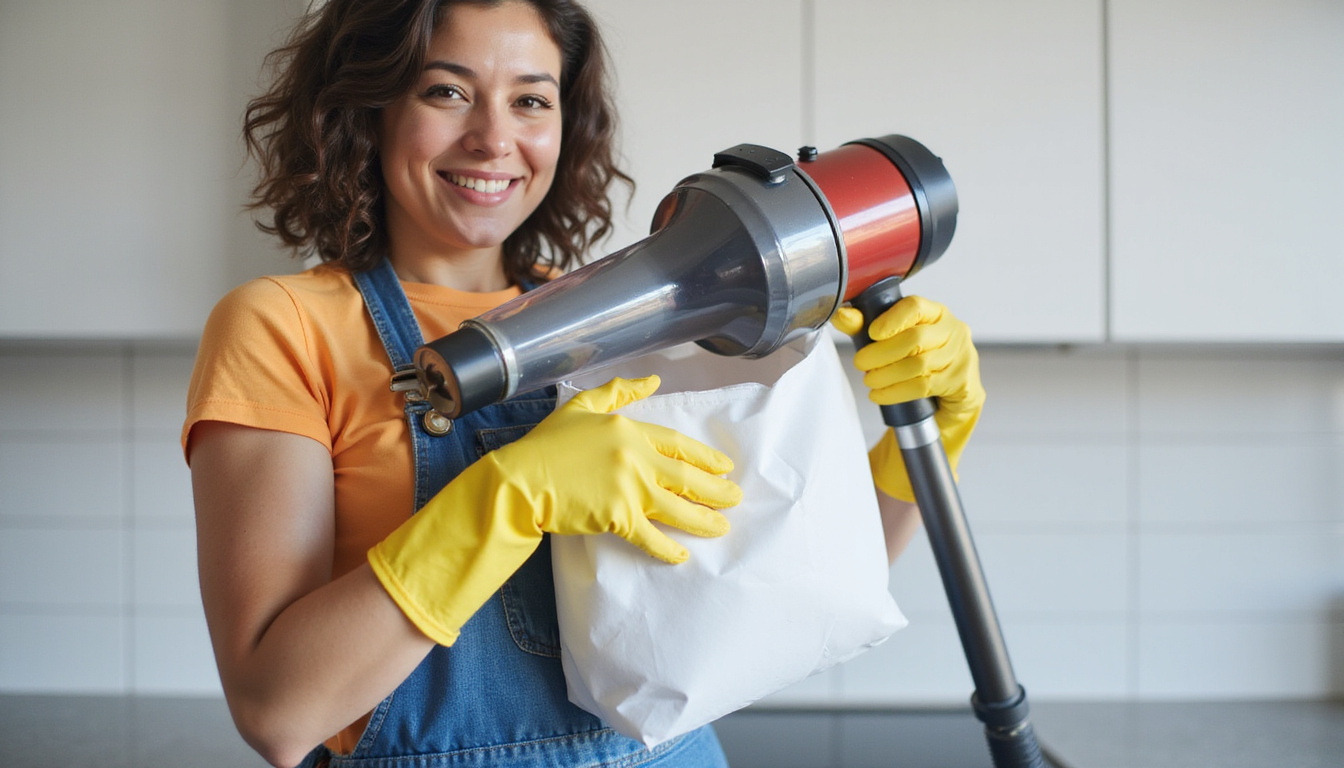
Roaches may live on inside the vacuum. To stop them from coming back:
-
Turn Off and Take the Vacuum Outside
Move the vacuum outdoors as soon as you finish. -
Remove the Bag or Empty the Canister
- For bagged vacuums: Remove the bag carefully.
- For bagless: Empty the bin directly into a strong trash bag.
-
Seal and (If you wish) Treat the Bag
- Tie or tape the trash bag tight.
- Optionally, you can spray the bag with a light indoor spray for bugs before sealing.
-
Dispose of the Bag Right Away
Put the sealed bag in an outdoor trash can with a tight lid. -
Clean the Vacuum
- Wipe the outside, hose, and tools.
- If you can, rinse parts that can be washed. Let them dry well.
- Clean or change filters as the maker says.
This routine stops roaches and allergens from coming back into your home.
How Often Should You Vacuum for Roaches?
How many times you vacuum depends on the roach count:
- For heavy problems, vacuum every day or every other day in key spots for 1–2 weeks. Then cut back to 2–3 times a week.
- For medium problems, vacuum key spots 2–3 times a week at first. Then, do it once a week as numbers drop.
- For light or very few roaches, add roach vacuuming into your normal cleaning. Aim especially at the kitchen and bathroom.
Keeping a steady pace is more useful than doing it perfectly. A set schedule helps stop a big roach return.
Mix Roach Vacuuming with Other Methods
To push out roaches, use vacuuming with these steps:
1. Clean Better
Remove food, water, and hideouts:
- Wipe counters and sweep floors every day.
- Do not leave dirty dishes overnight.
- Store food in sealed jars.
- Fix water leaks under sinks and around pipes.
- Throw out trash often and use tight lids.
2. Block Entry Points
Close gaps with caulk or foam:
- Around pipes and cables
- In cracks on walls, floors, and cabinets
- Where counters touch the walls
Small gaps allow roaches to come and hide.
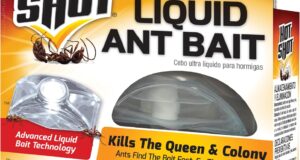
3. Place Baits
After you vacuum:
- Set gel baits or bait stations in these spots:
- Behind and under appliances
- Inside cabinets (especially near sinks)
- Along baseboards and near busy spots found in vacuuming
Avoid spraying sprays where baits are set. Sprays may make roaches avoid the bait.
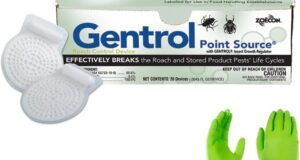
4. Use Growth Inhibitors if Needed
These products slow roach growth and stop their breeding. When used with vacuuming and baits, they help stop a quick return of bugs.
Mistakes to Avoid While Vacuuming Roaches
Do not make these errors:
- Relying on the vacuum only
Without cleaning, sealing, and baits, the roaches come back. - Not emptying the vacuum right away
Roaches may stay alive and leave later. - Vacuuming up the baits
If you pull up baits by accident, put them back after cleaning. - Missing hidden spots
Cleaning only the open floor leaves many roaches at home. - Using strong sprays first
Sprays may kill only the bugs in open spots. Focus on vacuuming first, then target treatment.
When to Call a Professional
You can do much on your own with roach vacuuming and home tips. But call a pro when:
- Roaches appear in many rooms, even in bedrooms and living areas.
- Roaches are seen when light is on.
- DIY steps do not lower roaches after 4–6 weeks.
- Small children, older people, or those with health issues live at home and you need quick, strong help.
Experts can mix treatments with your vacuum efforts for steady results.
Quick Reference: Roach Vacuuming Checklist
Use this list to guide you:
- [ ] Pick a strong vacuum with hose and crevice tools
- [ ] Wear gloves (and a mask if you need one)
- [ ] Focus on areas under and behind appliances, cabinets, and sinks
- [ ] Clean cracks, baseboards, and busy roach paths
- [ ] Remove droppings, egg cases, and shed skins
- [ ] Empty and seal the vacuum bag or bin outside right away
- [ ] Put the sealed bag in an outdoor trash can
- [ ] Clean vacuum parts and filters
- [ ] Repeat 2–7 times each week based on the bug count
- [ ] Mix with cleaning, sealing, and baiting for full control
FAQ: Roach Vacuuming and Roach Removal
-
Is vacuuming roaches good for getting rid of them?
Yes. Vacuuming cuts the number fast and pulls up allergens. It must join with cleaning, sealing, and baiting to remove all roaches and keep them out. -
Can roaches live in the vacuum and get out later?
Yes. Roaches may live in the vacuum. Always empty it outside, seal the bag, and throw it away in an outdoor bin. -
Do I need a special vacuum for roach removal?
No. A vacuum with strong suction, a hose and tool for corners, and a bag or bin you can seal will work well. A HEPA filter helps if allergies are an issue.
Steady roach vacuuming, mixed with good cleaning and blocking steps, will shrink roach numbers. Use it as your main tool to pull up seen roaches. Then keep up with cleaning and targeted moves to end roaches for good.