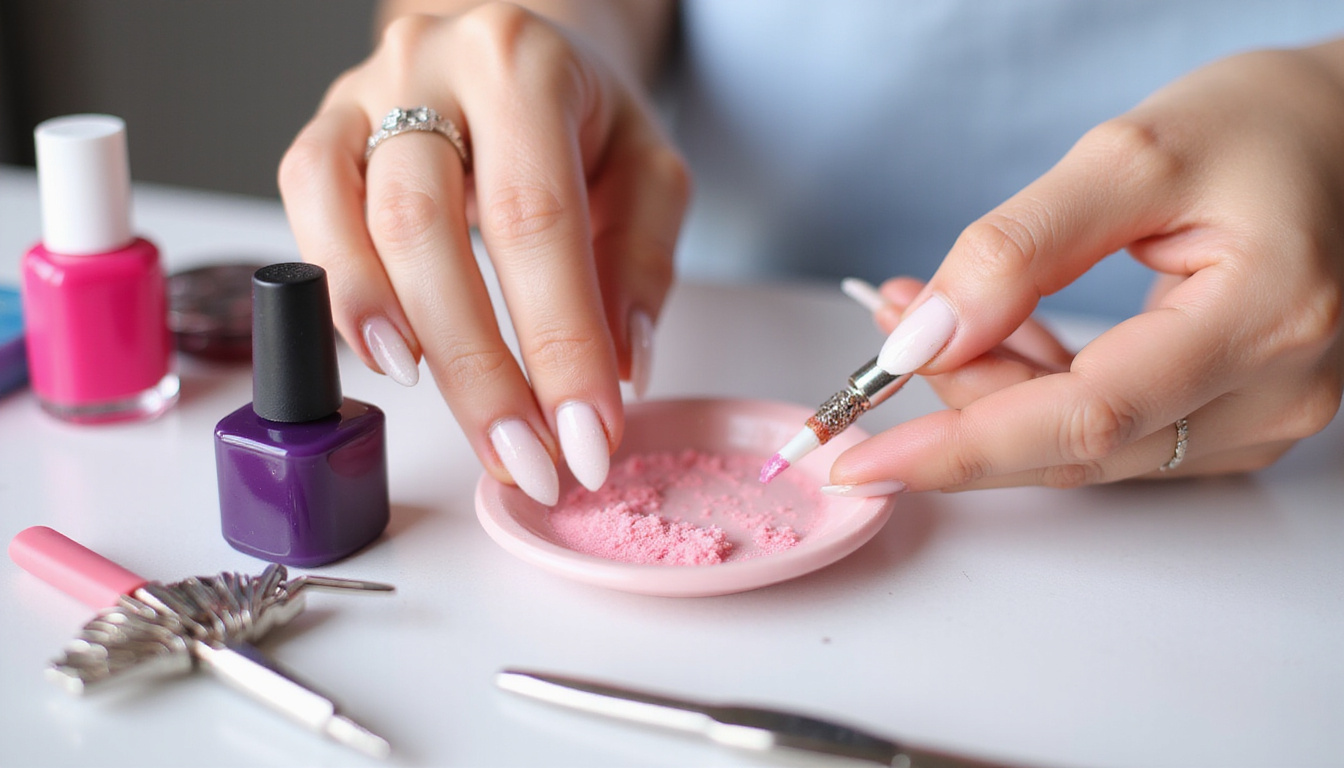
If you want salon nails at home, a good gel tool helps a lot.
A gel tool lays thin layers, stops mess at the cuticle, and gives you a smooth look for weeks.
Below are easy hacks—from start to finish—that lift your home mani to pro work.
Why the gel tool matters
A gel tool is more than a brush.
It guides product flow, keeps strokes even, and shapes neat edges.
Bad or mismatched tools drop streaks, clumps, and make polish lift at the sides.
Spend a bit of time to pick and learn the right tool for each step (base, color, builder, topcoat) so you fix less and shine more.
Prep like a pro
A good gel mani begins with clean nails.
No skill will fix nails that are dirty, wet, or misshaped.
• Clear old polish and oils.
Use removers with acetone or an alcohol wipe to clean oils.
• File and buff.
File nails to your shape and use a 180-grit buffer just to remove shine.
• Tidy cuticles.
Push cuticles back with care and trim hangnails so gel does not sit on them.
• Clean the nail plate.
Wipe with isopropyl alcohol or a gel nail cleanser so the tool glides smooth.
5 gel tool hacks for a neat coat
Try these simple steps when you paint.
-
Warm the gel a bit
Keep gel at room temperature but hold the bottle for 30–60 seconds or dip it in warm water.
This makes the gel more fluid and easier to manage.
It cuts down on brush strokes and pooling. -
Load the brush right
Dip the brush and wipe one side on the neck of the bottle.
You want enough gel for two thin strokes.
A big glob will cause drag and clumps. -
Use a three-stroke move
Put a small drop of gel at the base.
Push it toward the cuticle edge—but do not touch the cuticle.
Then pull three smooth strokes: one in the center and one on each side.
This gives even coverage and few brush marks. -
Stop pooling near the cuticle
If gel pools, put a small drop near the cuticle and use the tool to drag it out.
Thin layers stick well and cure best. -
Cure with care to avoid heat surprises
Thin layers cure fast and feel good.
If your lamp feels too warm, cure one finger at a time or use a softer LED lamp for a few extra seconds.
This keeps the nail cool while still curing the gel.
Quick list: Tools to keep in your gel tool kit
• Lint-free nail wipes and isopropyl alcohol
• A nail cleanser that balances pH
• Cuticle pusher and nippers
• Nail files (180/240 grit) and a fine buffer
• An LED/UV lamp with settings you can adjust
• Cuticle oil and a nail strengthener
Curing, wiping, and the tacky top
After curing a layer, many topcoats leave a sticky film.
Wipe it off with a lint-free wipe and isopropyl alcohol unless the product says otherwise.
If you have a no-wipe topcoat, do not wipe.
When you use a tool for the topcoat, make your final stroke thin and even to avoid stripes.
Fixing mistakes without starting over
Even skilled hands err sometimes.
Here is how to fix small errors fast:
• If the gel smudges near the cuticle or skin (and is not cured), lift it with a small wooden stick and then cure.
If it is cured, use acetone on a lint pad and polish gently.
• For uneven edges, dip a tool in a bit of acetone to smooth them before curing.
• For thick spots, cure the nail, then file lightly with a fine file, and add a thin topcoat with your tool.
Choosing the right gel tool for each task
Not all tools work the same.
Match your tool with the work:
• Fine, pointed brushes work best for precision, cleaning near the cuticle, and small art.
• Wide, flat brushes work well for base and color on medium to large nails.
• Silicone spatulas or palette knives are best for builder gels and for controlled gel drops.
• Disposable sticks or micro brushes help with cleanup, spot fixes, and gluing tips or stones.
• Gel pens and squeeze-tip tools help with dots, stripes, and freehand art.
Maintenance: Keep your tool in top shape
Clean your brushes right after each use with a brush cleaner or acetone.
Store brushes upright and replace them when the bristles spread.
Disposable tools are good for hygiene and neat work; change them often.
Safety and product choice
When you work with gels and a gel tool, follow safety steps for chemicals and light curing.
Pick products from trusted brands and skip any with ingredients that hurt you.
For nail product safety, check advice from cosmetic guides.
If you have skin irritation or nail issues, talk to a skin doctor.
Salon finish: Layering and sealing tips
• Thin layers work best: use 2–3 light coats with your gel tool, not one heavy coat.
Thin layers cure well and do not chip.
• Seal the nail edge: After each layer, brush along the free edge to stop lifting.
• Use cuticle oil: Once cured and cleaned, dab some oil on the cuticles.
This helps the skin and adds shine, keeping your mani fresh.
Common mistakes to avoid with a gel tool
• Putting too much gel on the brush (this causes pooling and bubbles).
• Skipping the free edge seal (this makes the gel lift early).
• Forgetting nail cleaning (this harms gel adhesion).
• Using a broken or dirty tool (this makes streaks and uneven cures).
• Applying heavy layers (this leaves uncured centers and heat issues).
FAQ — Quick answers about the gel tool
Q: Do I use gel tools more than once or throw them out?
A: Both ways work.
High-quality brushes can be used again if you clean them right after use.
Disposable tools help with hygiene and fine art.
Pick what fits how you work and your need for sanitation.
Q: What is the best gel nail tool for beginners?
A: A synthetic brush of medium width with a soft, round tip.
It holds enough gel for smooth strokes and works well near the cuticle.
Look for a brush with tight bristles.
Q: Can I use a regular nail polish brush for gel?
A: You can, but it might not hold gel evenly and may shed bristles.
A tool made for gel (with synthetic bristles and a steady holder) gives you a cleaner and easier work.
Final tips for steady salon results
Practice the three-stroke move until your hand learns it.
Test different cure times with your lamp and gel; each one may need a small change.
Treat your gel tool kit as an investment—keep it clean and replace old tools.
Your nails will show the work.
With these gel tool hacks and some practice, you can get long-lasting, shiny, salon nails at home.